Print-O-Matic | Documentation
System Requirements & Installation
The Print-O-Matic plugin documentation is divided into two areas. Plugin Settings cover all the available plugin options that can be set globally. Shortcode details all shortcode attributes with examples and demonstrations.
Detailed documentation on the plugin settings page
Shortcode attributes used to display print trigger and define the target to be printed
The following minimum system requirements are recommended:
PHP version 7 or greater
Current supported version of WordPress
While the plugin may work with older versions of PHP and WordPress, and outdated system that has reached it’s official End Of Life may expose your site to security vulnerabilities.
Print-O-Matic is available from the wordpress.org plugin directory. To install it from the Dashboard, go to Plugins → Add New and search for Print-O-Matic.
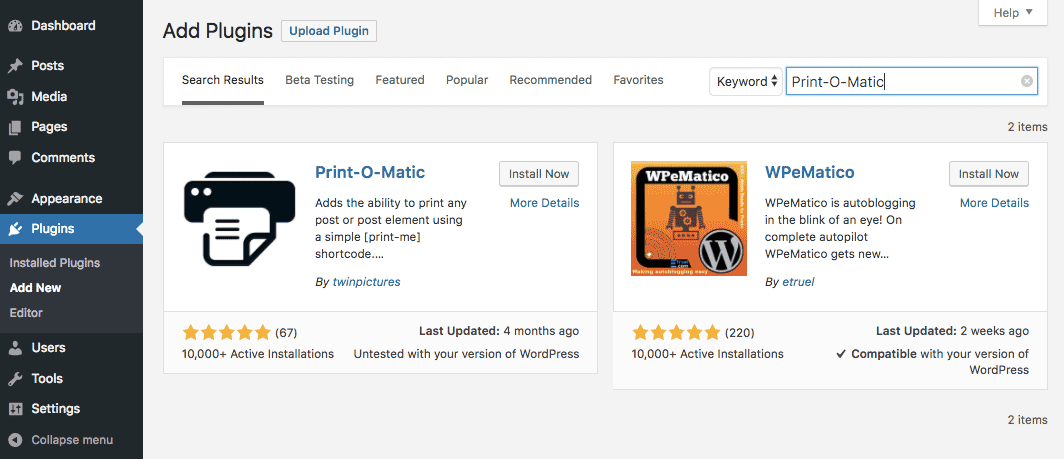
Click the Install Now button to install Print-O-Matic. After that, click the Activate button to activate the plugin.